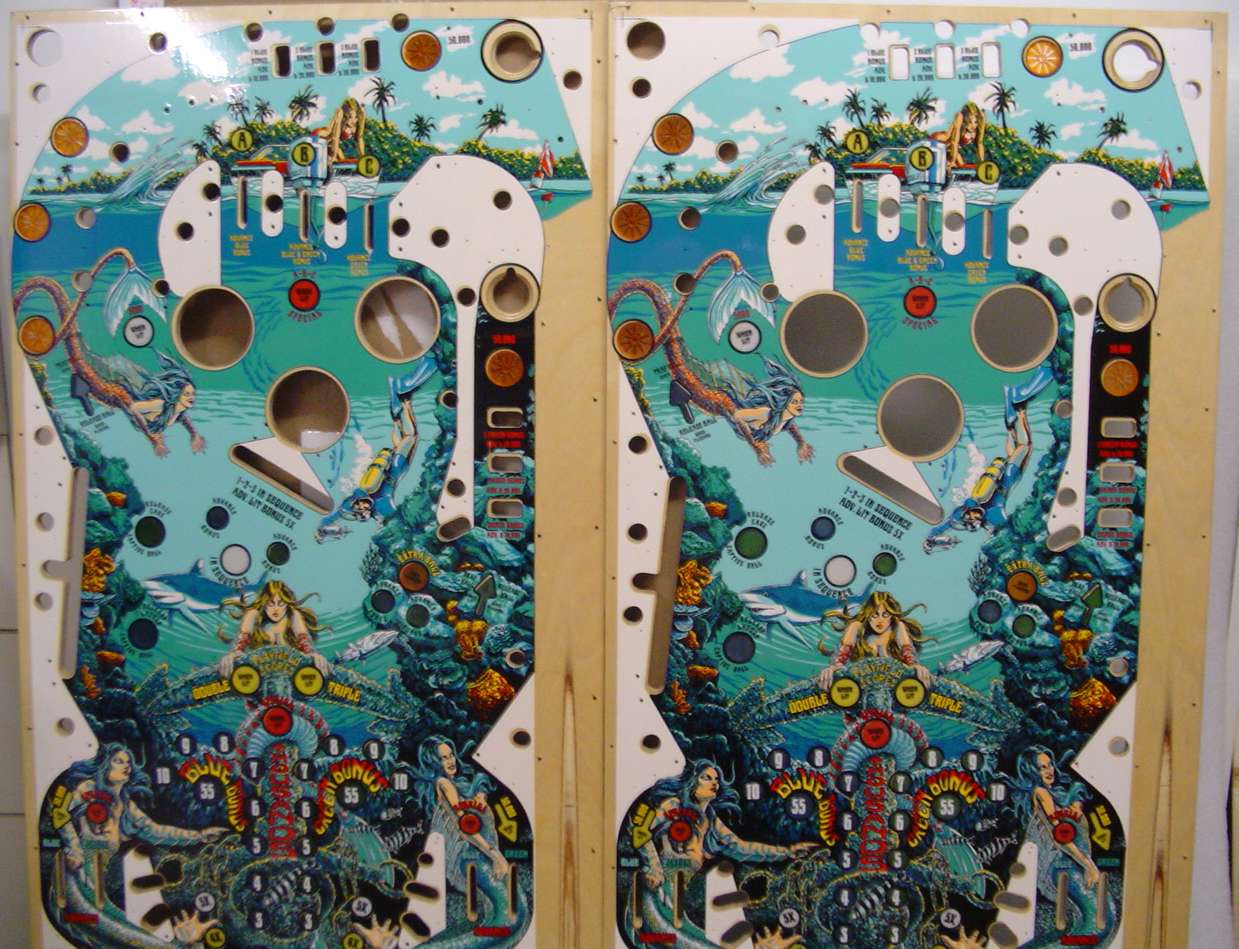
I took these two playfields to my garage, now they are clearcoated...
T-nuts mounted.

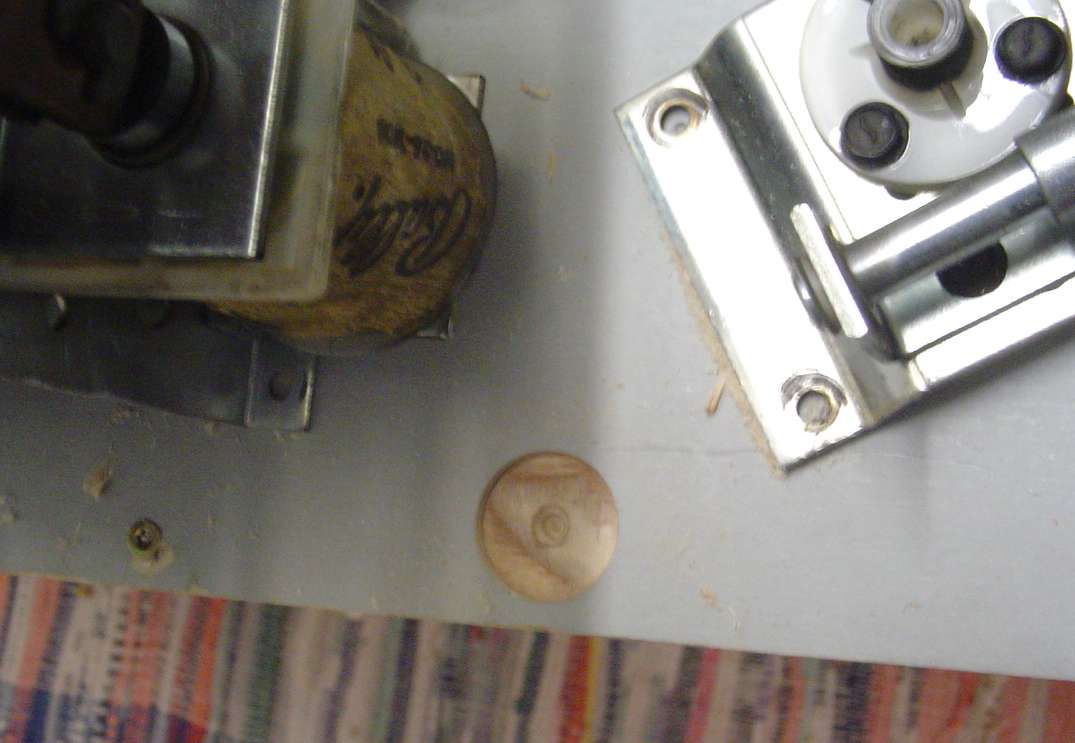
One of the predrilled holes is not deep enought.
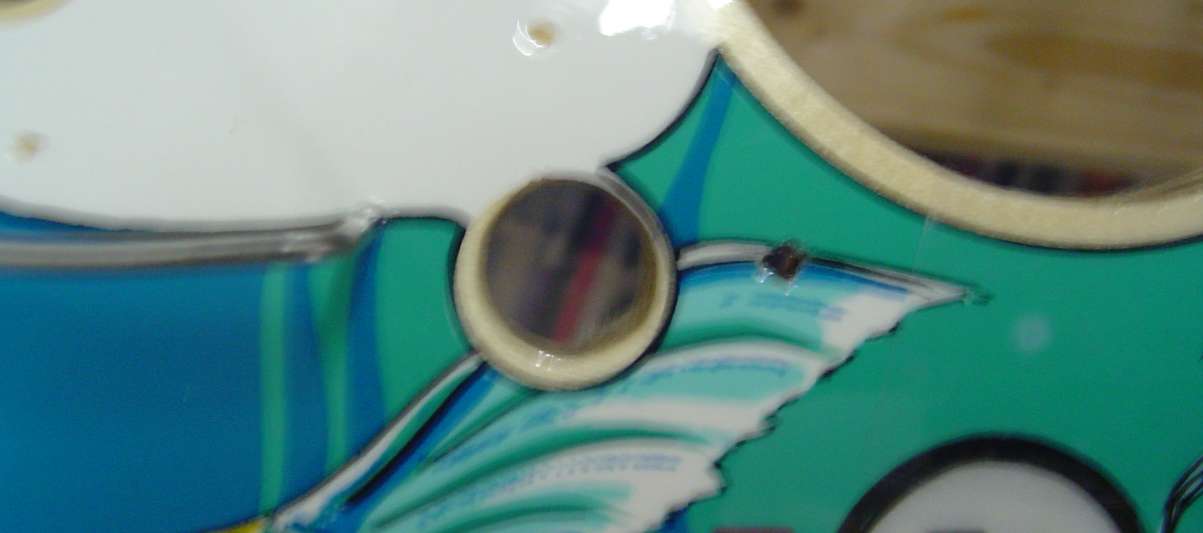
This hole is too small after the clearcoat.
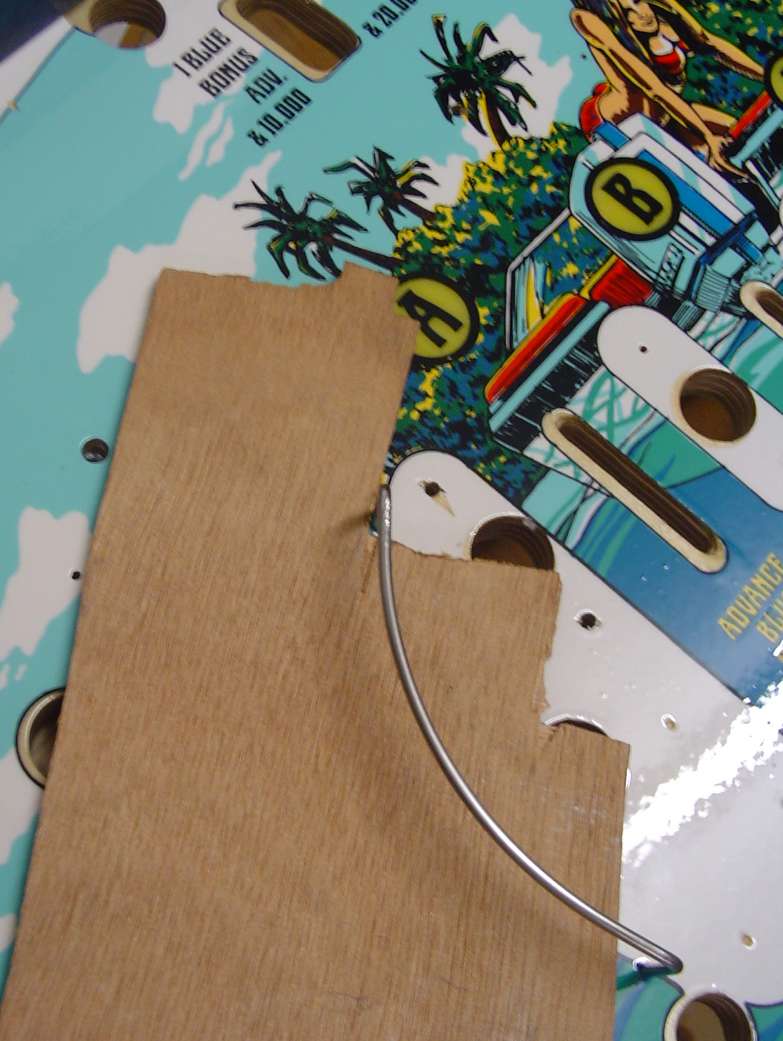
I always use a piece of wood for mounting the metal guides.
I mount mylarrings around the three top bumpers...
Now let us mount the blue posts...
I predrilled every hole again for the screws...
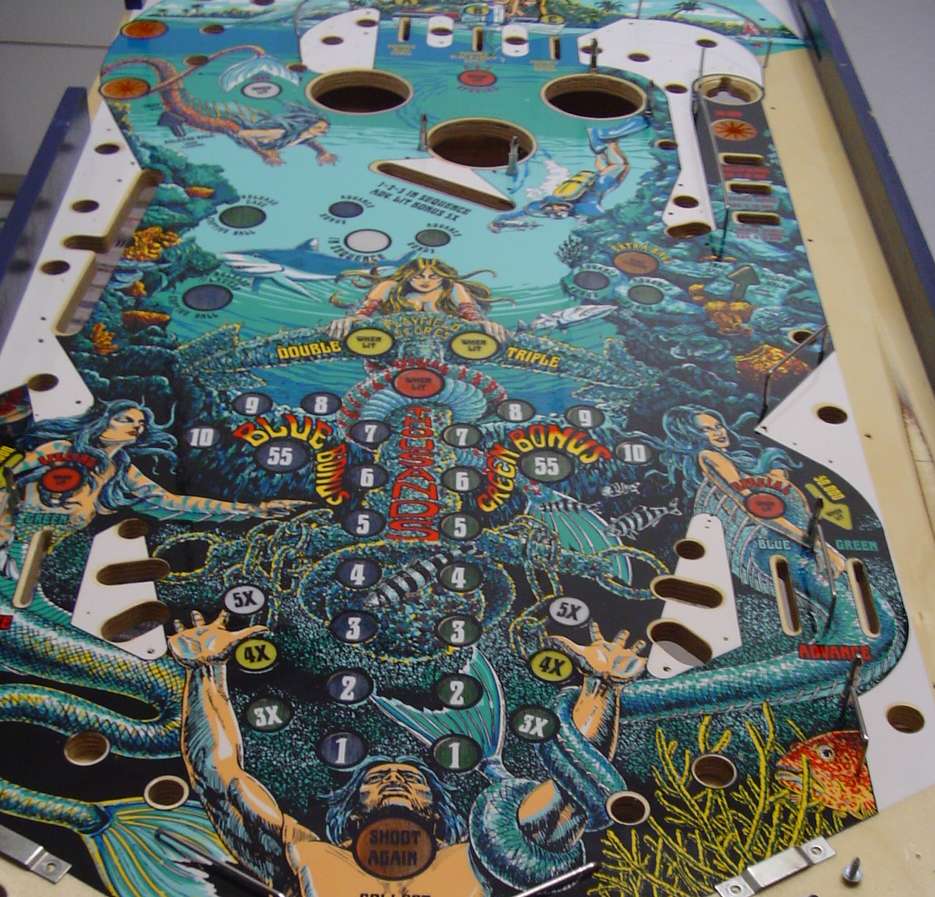
Upper part of both playfields are ready...
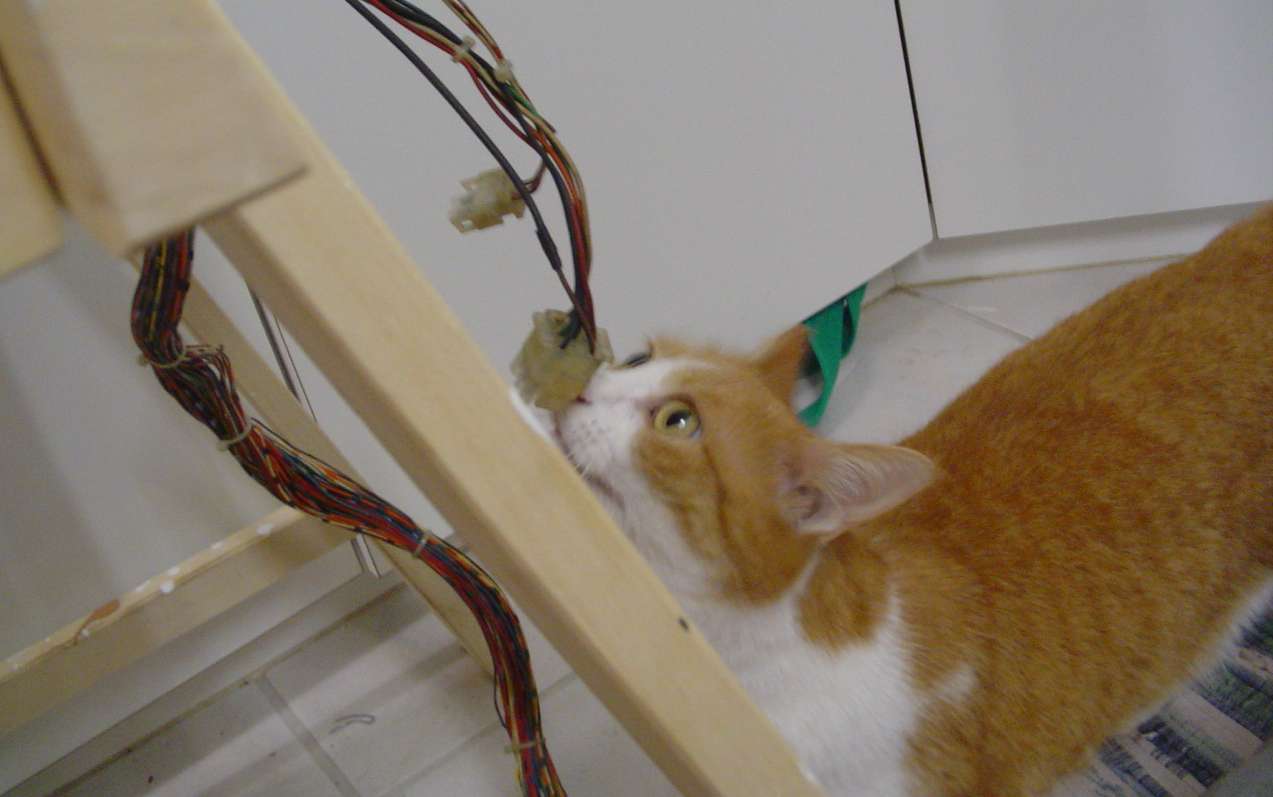
Here one of my three little "helpers" inspecting the old playfield...
Almost everything ready to move. I already changed the targets with new ones...
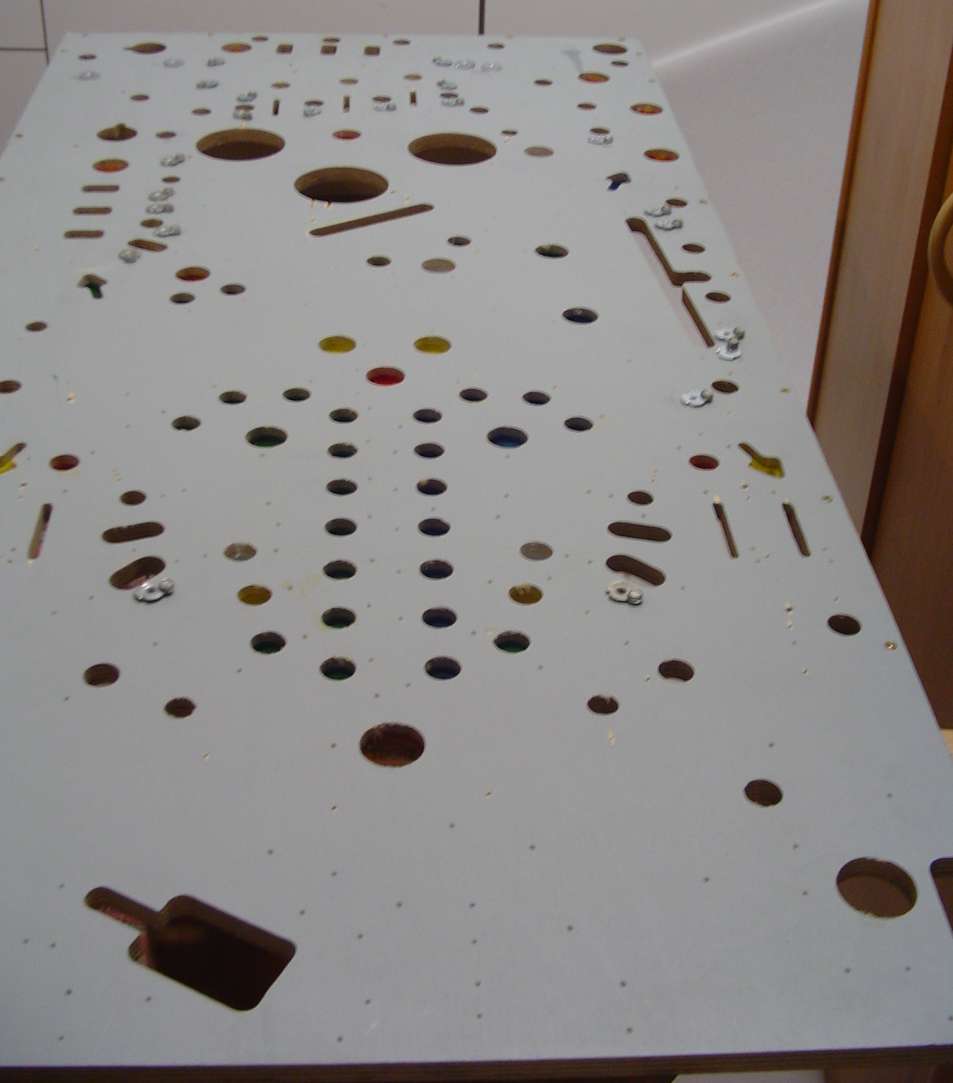
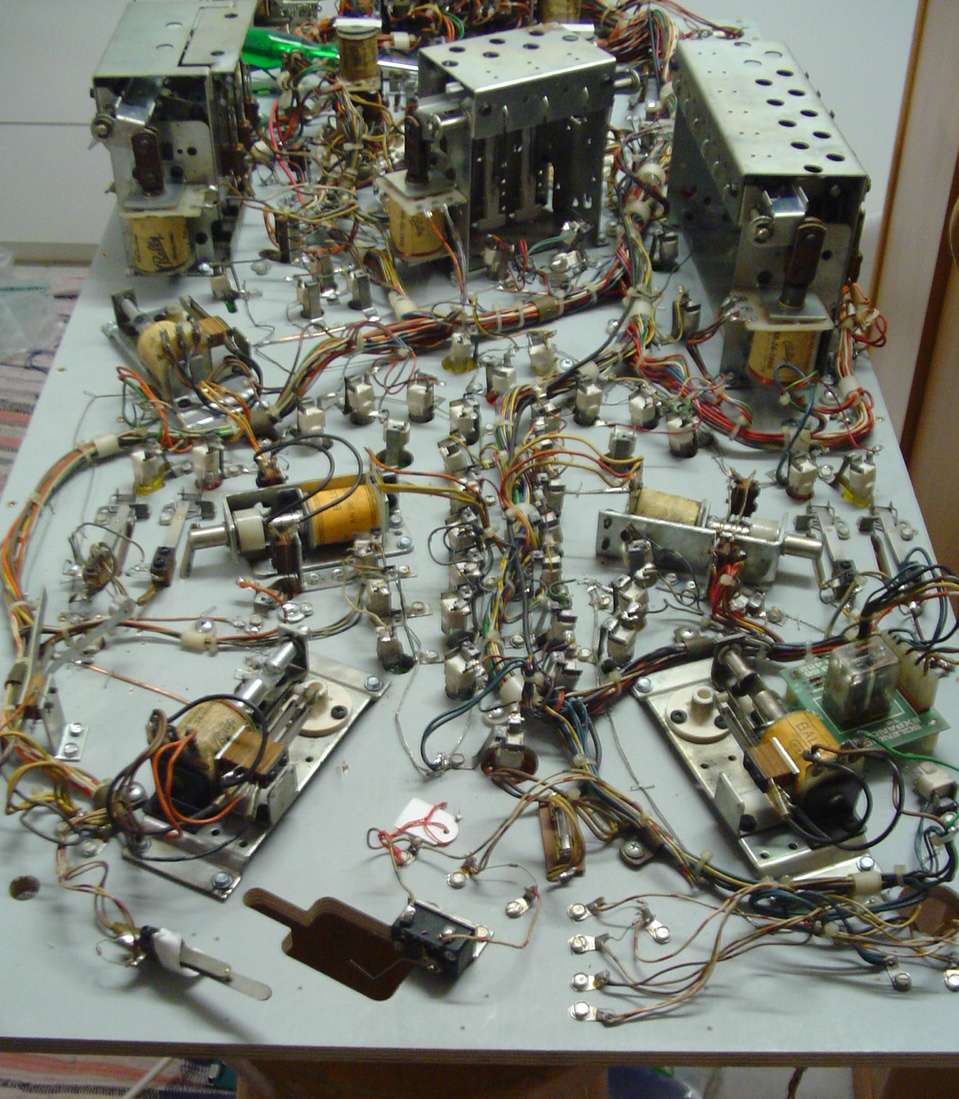
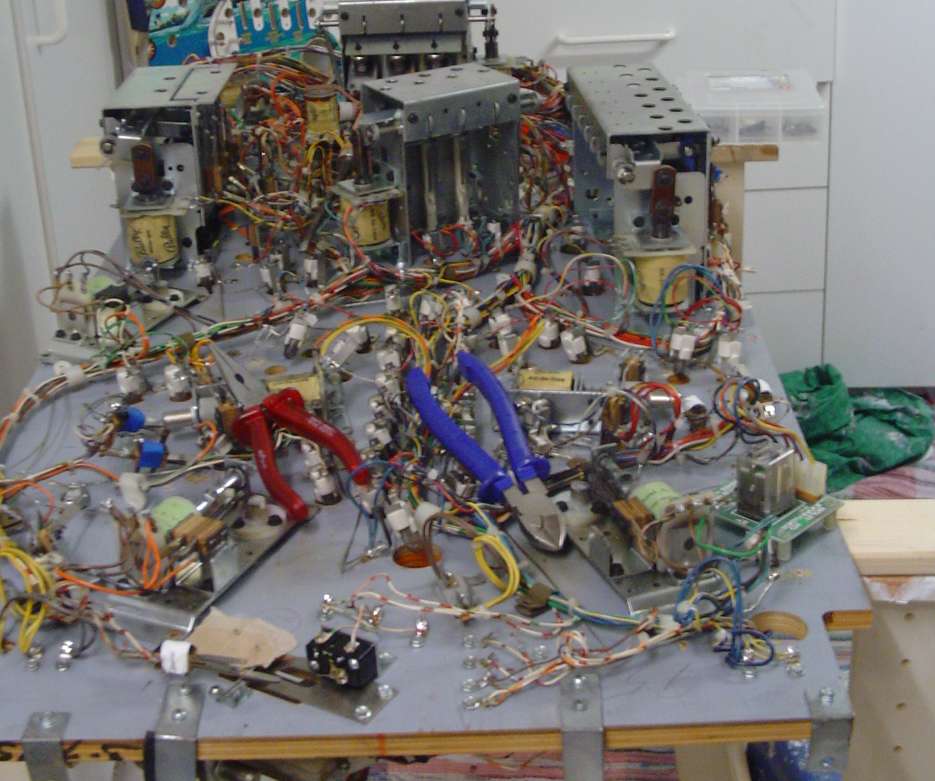
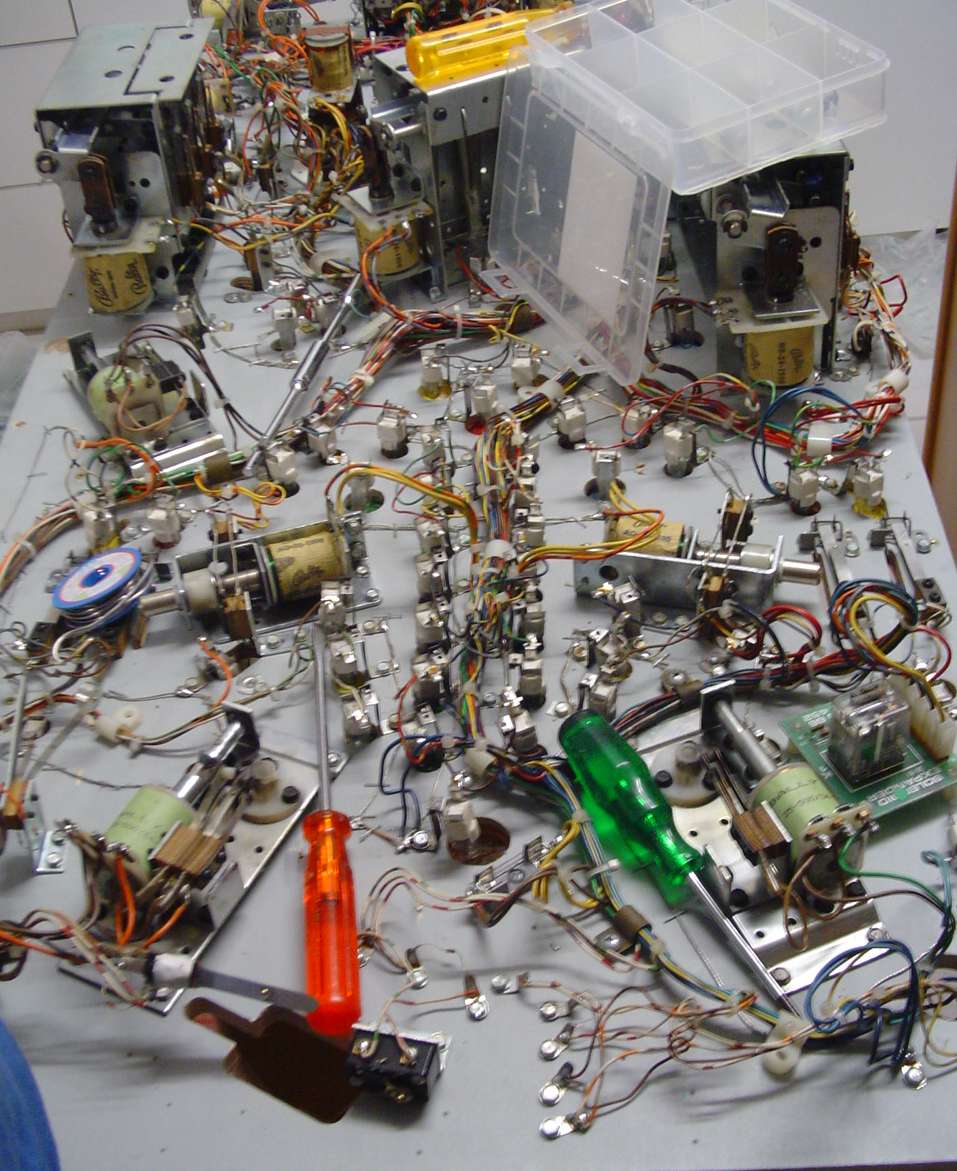
Everything on the cardboard...
Let us screw...
At certain places, I replaced the thin blank lamp wire with isolated wire.
Almost done...
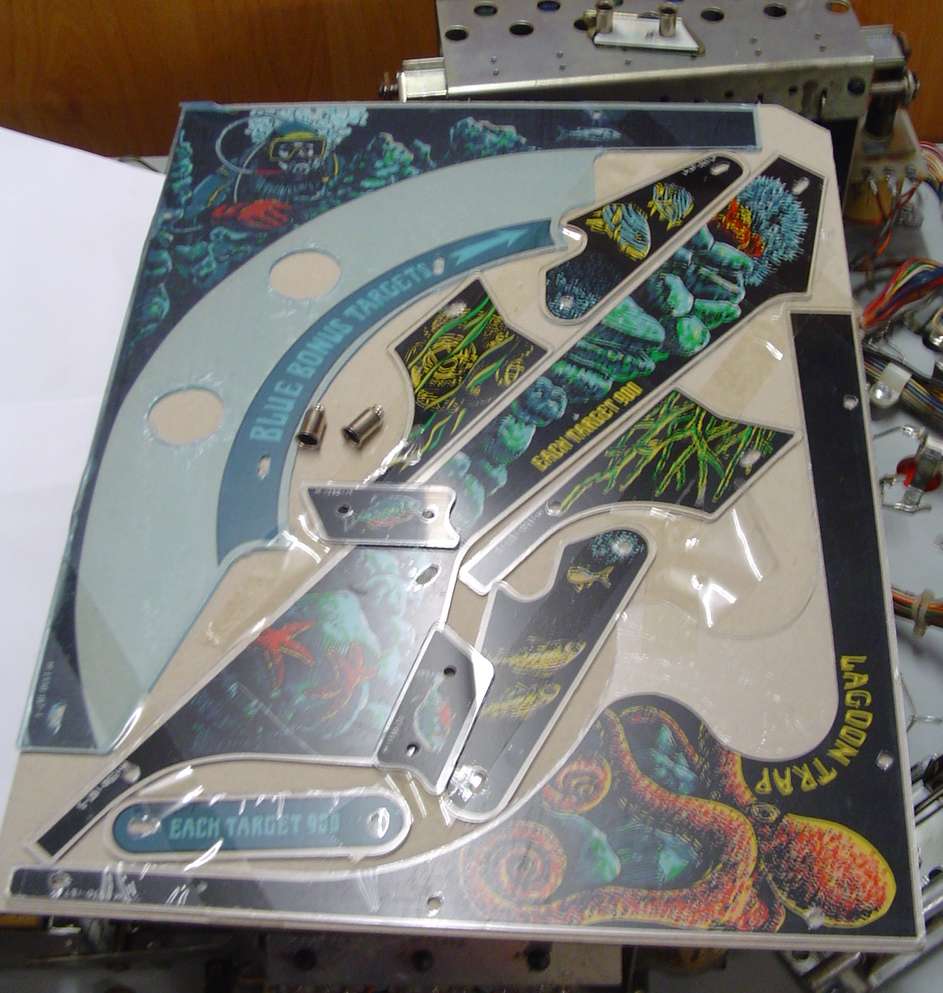
Now the plastics...
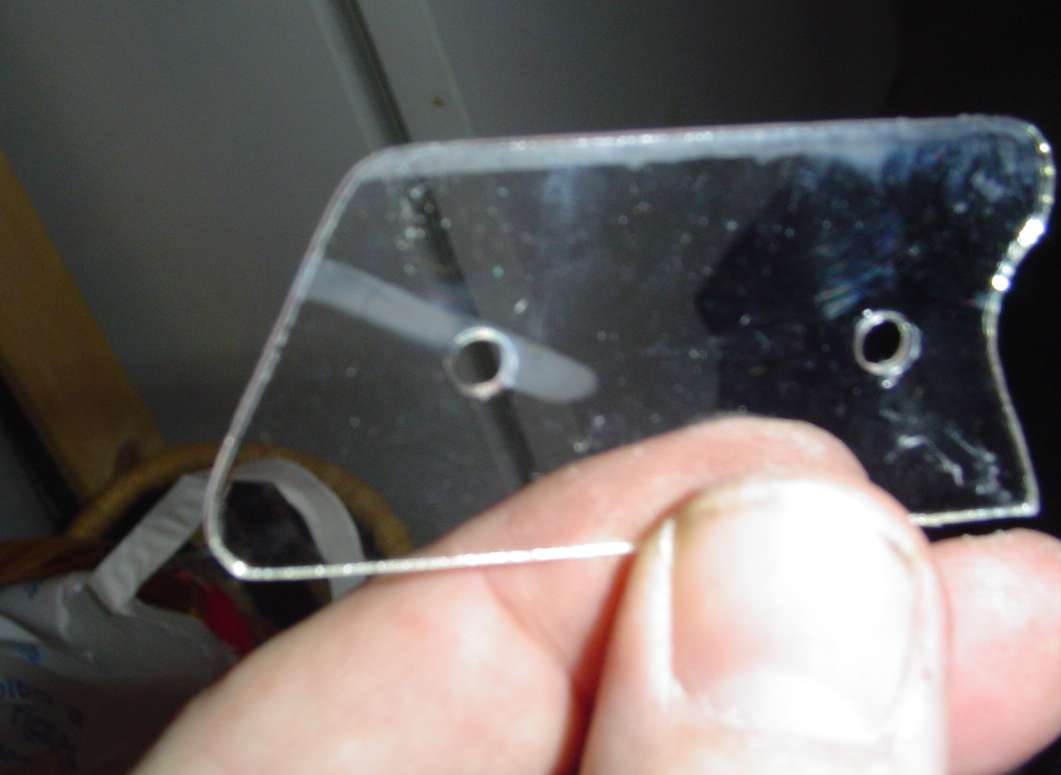
For the small flipper plastics you need the solder iron...Look here how to do it...
I also use protectors for the small plastics....Someone selled them on rec.games.pinball...

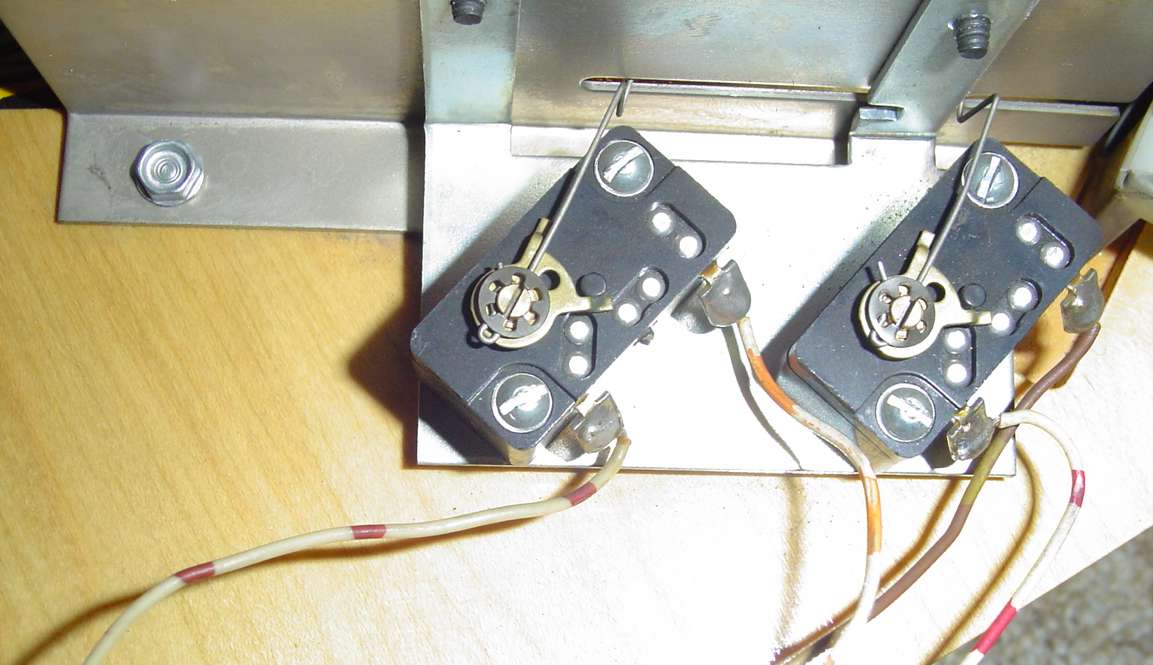
Outhole assembly done...
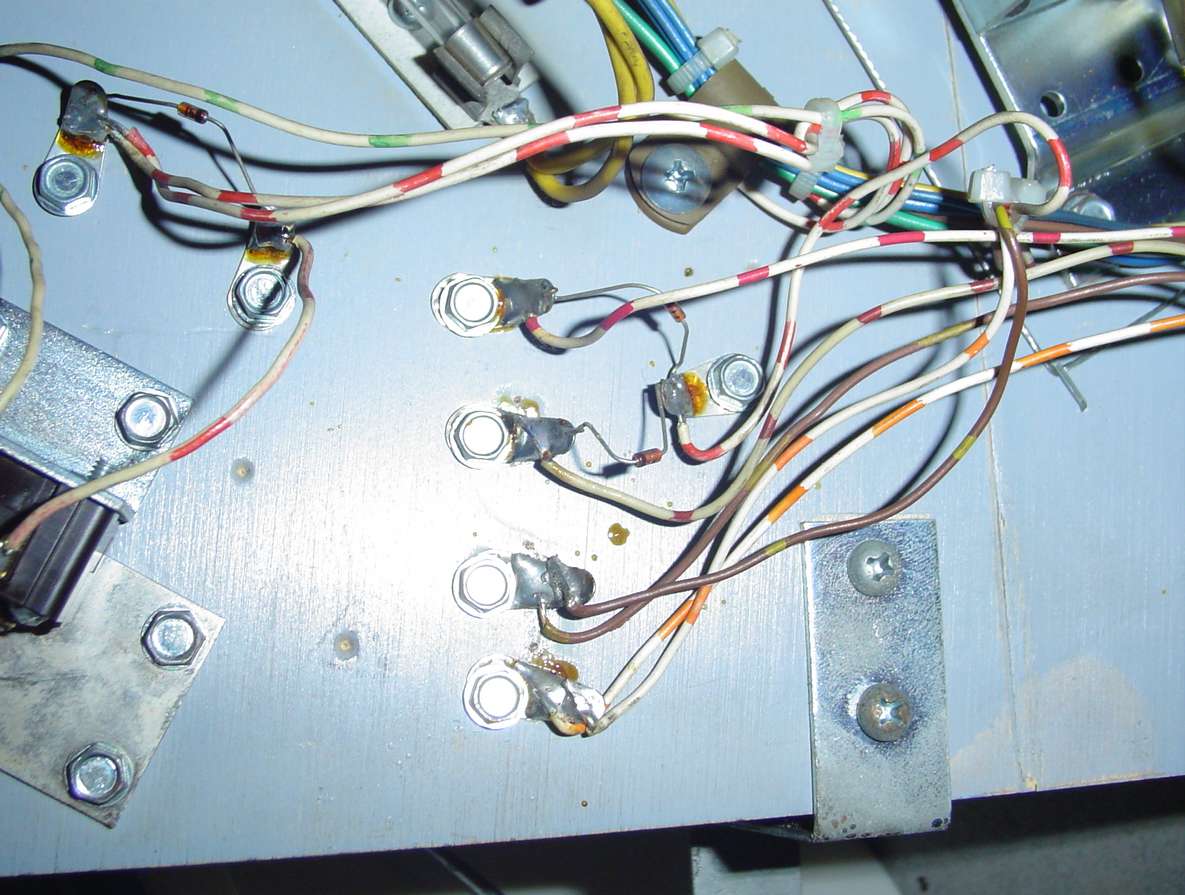
I made one error, there are two switches near to the outhole assembly. Two of the wire colours are quite equal...
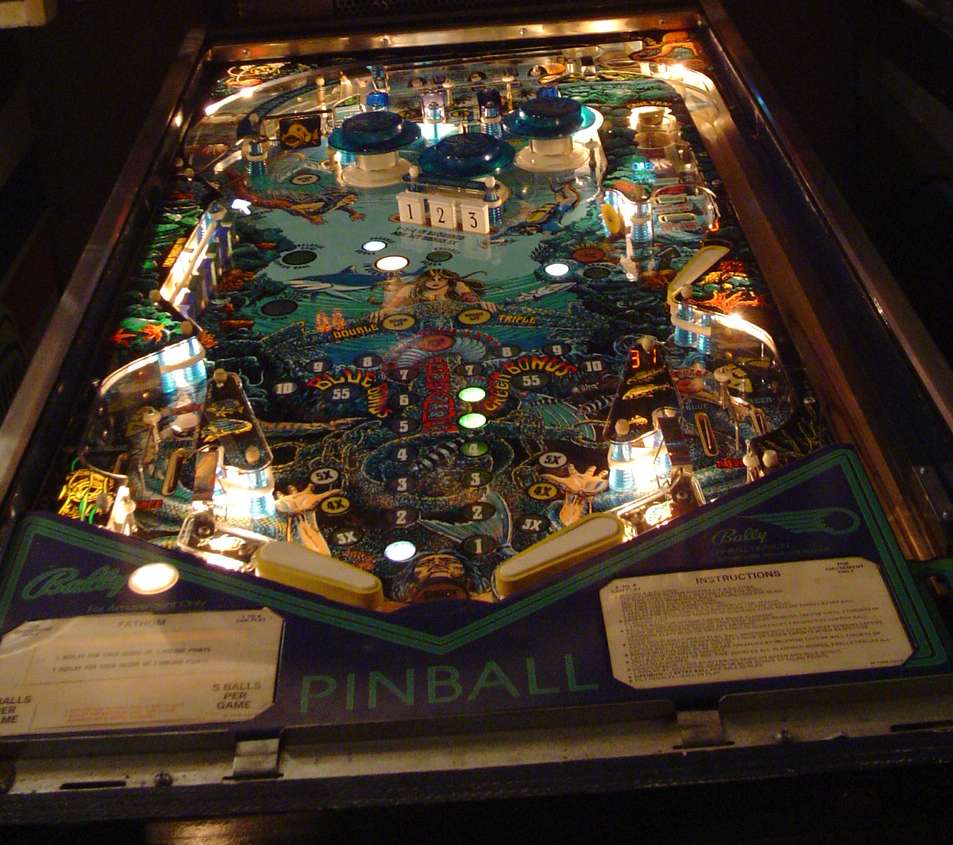
Here you see a picture of the old fathom playfield...
Playfield ready...
Still some switches to adjust...
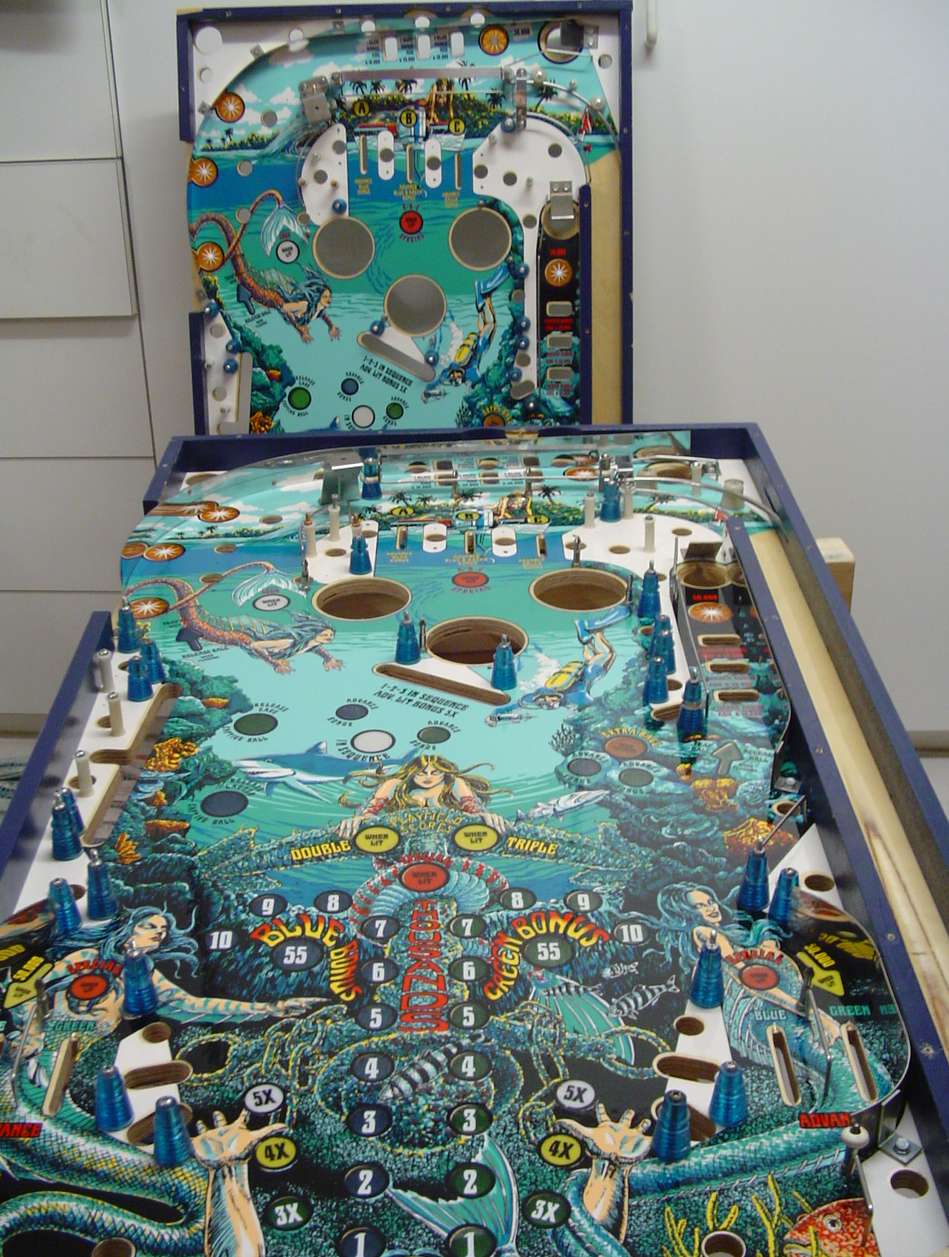
Now the second playfield...

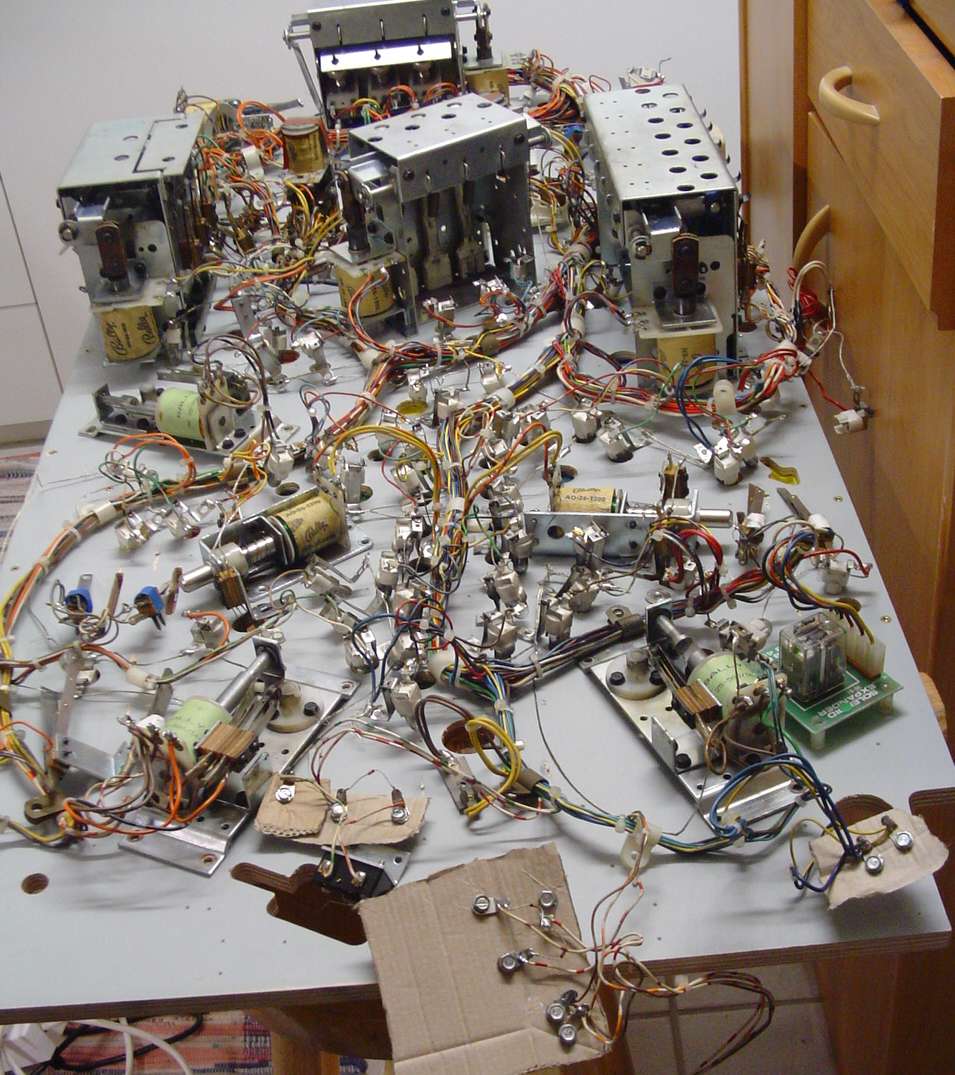
All on the cardboard...
Almost done...
Important things:
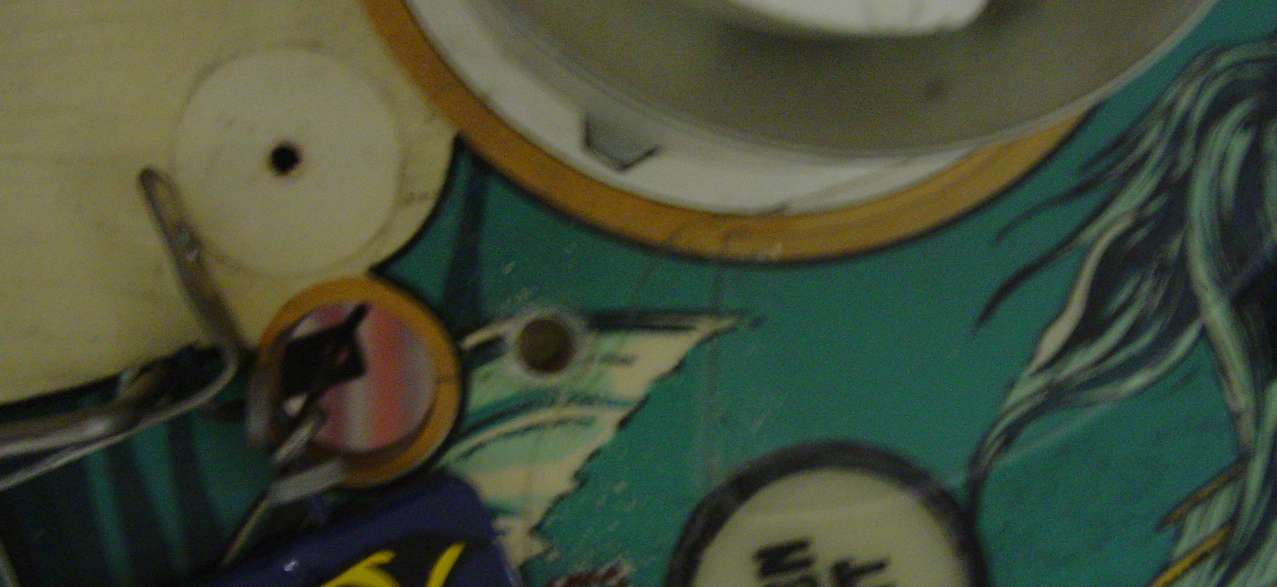
Use a forstner driller and make this little hole...
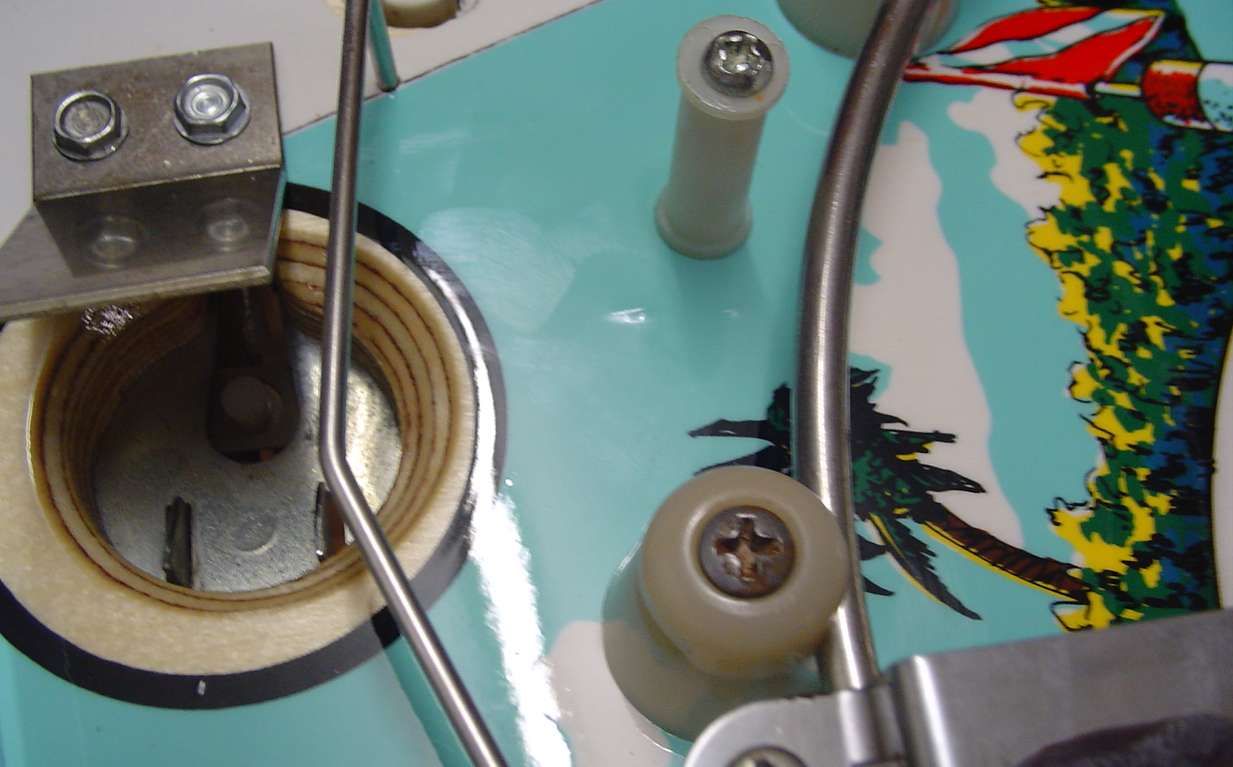
Warning: The new playfield is thinner then the orignal playfield. The two saucer switches may reach the other other side from the playfield. It will not harm, because both areas are under the plastics.
Mail me